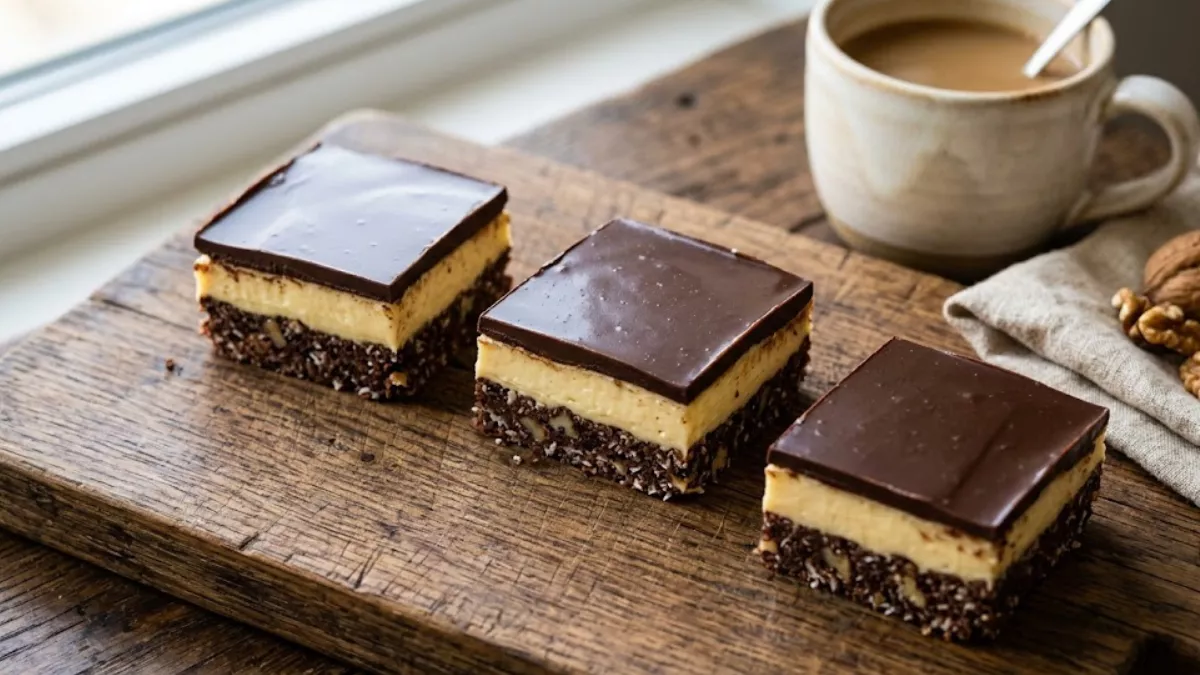
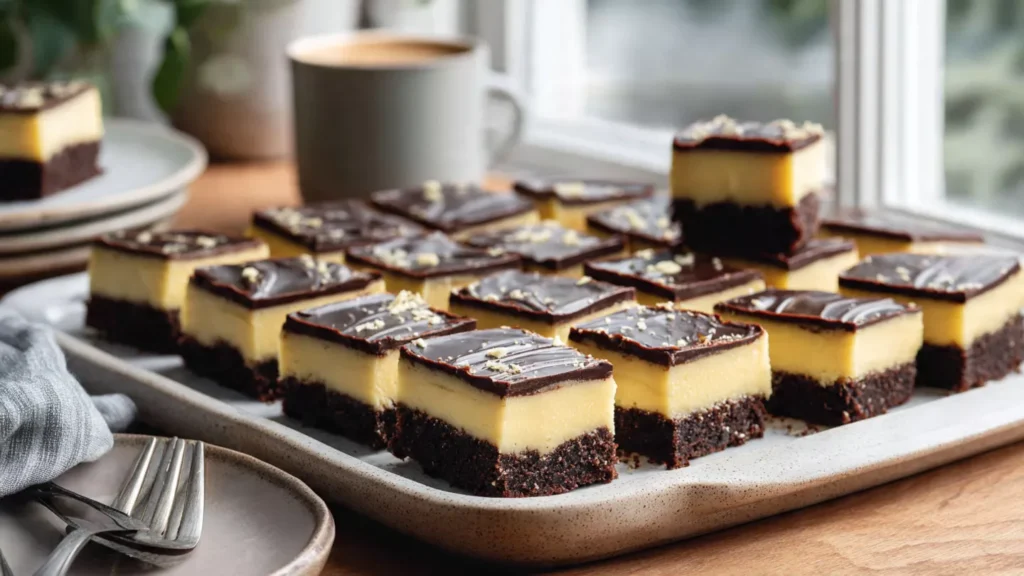
You are at a neighborhood potluck in Seattle, and a neighbor brings out a tray of squares. They look familiar, almost like a fancy candy bar, but you cannot quite name them. The top is a smooth, glossy layer of chocolate, the middle is a creamy yellow custard, and the base is a dense, chocolatey crumb. One bite delivers a satisfying crunch followed by a silky melt.
That dessert is the Nanaimo bar. For many Americans, this Canadian classic is a delightful mystery. You might have seen it on a baking show or tried a version at a coffee shop, but recreating it at home can feel intimidating.
This article will guide you through everything you need to know to make perfect Nanaimo bars. You will learn why the layers work the way they do, how to avoid common pitfalls, and the secrets to achieving that signature texture. By the end, you will have the confidence to make this impressive no-bake dessert for any occasion.
Understanding the Classic Three-Layer Structure
The problem many home bakers face is treating Nanaimo bars like a standard brownie or cookie bar. When you approach it as one uniform dessert, the layers blend together, and the texture suffers. You might end up with a soggy bottom or a middle layer that refuses to set.
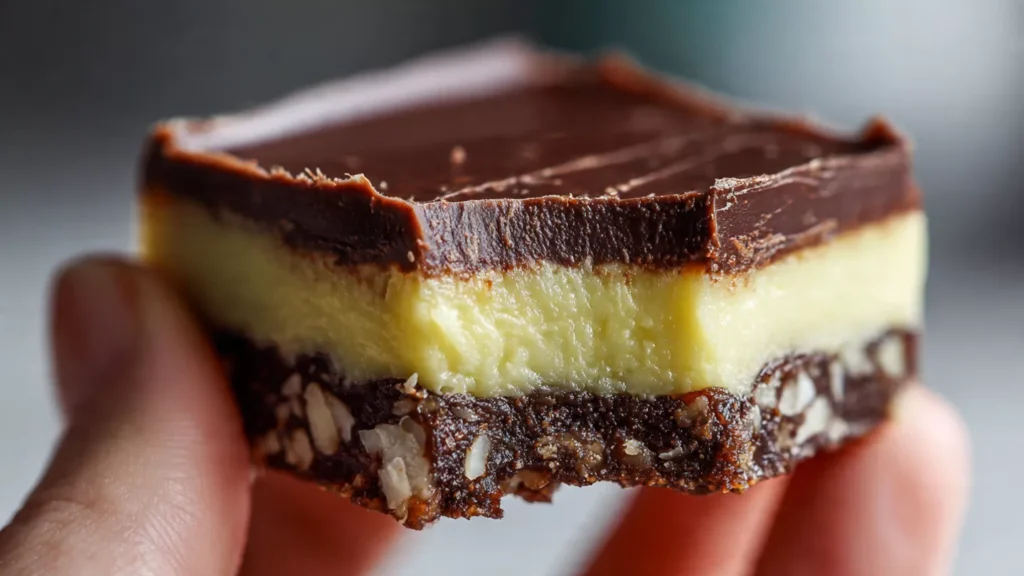
The reason for this structure is texture contrast. The Nanaimo bar is engineered for a specific mouthfeel. The base provides a firm, crunchy foundation. The middle acts as a soft, buttery custard that binds everything together. The top is a hard chocolate shell that seals in the moisture.
The practical solution is to respect each layer as an individual component. Do not rush the process. Allow each layer to set completely before adding the next. This creates distinct boundaries. Think of it like building a house: you need a solid foundation before you install the windows.


A real-life example from a home baker in Portland shows this clearly. She attempted to make the bars for a family gathering but got impatient. She poured the custard layer over a warm base, causing the butter in the base to melt and the two layers to mix. The result was a muddy, unappetizing mess. By waiting an extra hour for the base to chill, her next batch had perfect, clean-cut layers.
The History and Rise in Popularity
You might wonder why a dessert named after a city in British Columbia is gaining traction across the United States. The problem is context. Without understanding its roots, the combination of ingredients—custard powder, graham crackers, and chocolate—can seem random.
The insight here is that the Nanaimo bar is a product of mid-20th-century home economics. It became popular because it required no baking, relied on shelf-stable ingredients, and looked impressive on a plate. Its rise in the US mirrors the growing interest in global comfort foods. People are looking for authentic recipes with a story.
The solution is to embrace its heritage. When you serve these, share a bit of the story. It adds to the experience. The bar is named after Nanaimo, a harbor city on Vancouver Island. The earliest known recipe appeared in a women’s auxiliary cookbook in the 1950s. It gained official status as the city’s signature dessert in 1986.


For a US-based host in Chicago, this historical tidbit became a conversation starter at a Canadian-themed dinner party. Rather than just serving a dessert, she offered a story. Guests appreciated the cultural context, and the bars became the highlight of the evening, sparking discussions about regional American desserts versus Canadian ones.
Perfecting the Bottom Layer: The Crumb Base
The most common frustration with the bottom layer is that it falls apart when you cut the bars. You slice through the chocolate top and the custard middle, only to have the base crumble into a pile of crumbs. This is a textural failure that ruins the presentation.
The reason this happens is usually a ratio issue. The classic bottom layer is a mixture of graham cracker crumbs, shredded coconut, chopped nuts, cocoa powder, and melted butter. If you do not pack it firmly enough, or if there is too much dry crumb, it will not bind.
The practical solution involves two key steps. First, press the mixture into your pan with significant force. Use the flat bottom of a measuring cup or a glass to compact it. You want it to feel dense and solid. Second, let it chill in the refrigerator for at least 30 minutes before adding the next layer. This allows the butter to re-solidify, creating a hard, cohesive slab.
Consider a baker in Austin, Texas, where warm kitchen temperatures are a challenge. She learned that her base was too loose because the butter was melting before it could set. She started chilling her pan for 45 minutes and even placed the crust in the freezer for 15 minutes before adding the custard. This simple adjustment transformed her bars from a crumbly mess to a sturdy, sliceable dessert that held its shape even in the summer heat.
The Secret to a Silky Custard Middle
The middle layer is where many American bakers get tripped up. The recipe calls for custard powder, which is a staple in Canadian and British pantries but less common in the US. Some might substitute instant vanilla pudding, but this often results in a layer that is too soft or artificially flavored.
The insight is that custard powder (such as Bird’s) is specifically designed to create a stable, thick cream that holds its shape without being gelatinous. It has a distinct vanilla flavor and a signature pale yellow color. Using the right ingredient is crucial for authenticity and texture.
The practical solution is to source custard powder. It is readily available in most US grocery stores in the international aisle or online. If you absolutely cannot find it, a cooked vanilla pudding made with cornstarch and egg yolks can serve as a substitute, but it requires more effort and has a shorter shelf life.
A home cook in Denver found herself without custard powder before a holiday party. Instead of using instant pudding, she made a stovetop vanilla pastry cream. She beat egg yolks, sugar, cornstarch, and milk until thick, then mixed in butter. While it was more work, the result was a rich, authentic middle layer that impressed her guests even more than the traditional version. The key was ensuring the cream was cooled completely before spreading it over the chilled base.
Achieving the Signature Chocolate Top Layer
The top layer seems simple—melt chocolate and butter—but it is often the source of streaks and cracks. A streaky top layer happens when the chocolate and butter do not emulsify properly. Cracks happen when the chocolate sets too quickly or is cut before it is fully hardened.
The reason for this is temperature control. Chocolate is sensitive. If the butter is too hot when mixed, the cocoa butter in the chocolate can separate, leaving a greasy film. If the chocolate is poured over a middle layer that is too cold, it will set instantly and crack when you try to smooth it.
The practical solution is to melt the chocolate and butter gently. Use a double boiler or microwave in short bursts, stirring frequently until just melted. Let it cool slightly until it is still pourable but not hot. Pour it over the set custard layer and tilt the pan to spread it evenly. Do not use a spatula to push it around aggressively, as this can disturb the soft custard below.
Take the example of a baker in Minneapolis who struggled with a dull, streaky top. She discovered she was overheating her chocolate. She switched to a method of melting the butter first, removing it from the heat, and then adding finely chopped chocolate, stirring until the residual heat melted it. This created a glossy, smooth ganache that set with a professional sheen, making her bars look like they came from a high-end bakery.
Using High-Quality Ingredients for Better Results
A common problem for novice bakers is using whatever ingredients are on hand, assuming the final product will be the same. For a dessert with only a few components, the quality of each ingredient matters immensely. Cheap chocolate or low-quality butter will be noticeable.
The insight is that Nanaimo bars rely on the purity of their flavors. The butter in the base and middle should be unsalted and high-fat for the best taste. The chocolate topping should be a good quality semi-sweet or dark chocolate, as it provides the main flavor note when you take the first bite.
The practical solution is to invest in premium ingredients. European-style butter with a higher fat content will make the custard layer silkier. Use real vanilla extract, not imitation. For the chocolate top, choose a brand you enjoy eating on its own.
A baker in San Francisco decided to test this theory by making two batches. One used store-brand ingredients and chocolate chips. The other used high-quality butter, custard powder from a British import shop, and a premium dark chocolate bar. The difference was stark. The premium batch had a cleaner taste, a smoother texture, and a glossy top that held its shine. Her family immediately noticed the difference, confirming that ingredient selection is not snobbery—it is essential technique.
Preparing Nanaimo Bars for a Crowd
If you are making these bars for a large gathering, a Super Bowl party, or a holiday potluck, the problem shifts from technique to logistics. Cutting these bars cleanly can be a nightmare. If the chocolate is too hard, it shatters. If the custard is too soft, it squishes out.
The reason clean cuts are difficult is the temperature variance between the layers. A cold chocolate top becomes brittle. A cold custard is firm, but if you let it warm up too much, it becomes sticky.
The practical solution is to use a hot knife. Run a large, sharp chef’s knife under hot water, dry it off, and make a cut. The heat from the blade will gently melt through the chocolate layer without cracking it, while the sharp edge slices cleanly through the custard. Wipe the knife clean and repeat for each cut.
For a family in Atlanta hosting a large July 4th gathering, this technique was a game-changer. They had previously struggled with serving the bars, presenting guests with jagged pieces that looked messy. By using the hot knife method, they produced uniform, restaurant-quality squares. They also learned to let the bars sit at room temperature for about 10 minutes before cutting, which softened the chocolate just enough to prevent shattering.
Storing and Making Ahead
A major advantage of Nanaimo bars is that they are an ideal make-ahead dessert. However, the problem arises when they are stored improperly, leading to the chocolate top sweating or the custard absorbing fridge odors.
The reason Nanaimo bars store well is that the butter and sugar in the custard act as preservatives, and the chocolate shell creates a protective seal. However, they are also porous to smells if left uncovered.
The practical solution is airtight storage. Once the bars are fully set and cut, place them in a single layer in an airtight container, separating layers with parchment paper. They will keep in the refrigerator for up to a week. You can also freeze them for up to three months. Wrap the entire block or individual squares tightly in plastic wrap and then foil.
A busy parent in Boston relied on this make-ahead capability during the holiday season. She would prepare the bars two weeks in advance and keep them in the freezer. When unexpected guests arrived or she needed a dessert for a school event, she simply pulled the bars out, let them thaw in the refrigerator overnight, and they were ready to serve. This reduced her stress and ensured she always had a high-quality, homemade dessert on hand.
Conclusion
Nanaimo bars are more than just a dessert; they are a study in texture, patience, and technique. By understanding the purpose of each of the three layers, you move from simply following a recipe to truly mastering it. The key insights are to respect the setting time for each layer, source quality ingredients like custard powder and premium chocolate, and use proper cutting techniques for a clean presentation.
Whether you are making these for a casual family dinner or a festive holiday party, the practical steps outlined here will help you achieve consistent, impressive results. This classic Canadian treat is a wonderful addition to any American baker’s repertoire. Approach it with confidence, enjoy the process, and look forward to the satisfaction of presenting a dessert that is as beautiful as it is delicious.
FAQs
Can I make Nanaimo bars without custard powder?
Yes, you can. The best substitute is a cooked vanilla pudding made from scratch using egg yolks, cornstarch, milk, and sugar. Instant vanilla pudding mix is not recommended as it often results in a layer that is too soft and lacks the traditional flavor.
Why do my Nanaimo bars fall apart when I cut them?
This usually happens for two reasons. Either the bottom layer was not packed firmly enough, or you are cutting the bars before they have fully chilled. Ensure the base is pressed down very hard and allow the final dessert to set in the refrigerator for at least 3-4 hours, preferably overnight.
Do I have to use graham crackers for the base?
While graham crackers are the standard in North America, you can substitute them. Digestive biscuits are a popular alternative and provide a similar texture. You can also use vanilla wafers, though they will result in a slightly sweeter base.
How long do Nanaimo bars last in the refrigerator?
When stored in an airtight container, Nanaimo bars will stay fresh in the refrigerator for up to one week. You can also freeze them for up to three months. To freeze, wrap them tightly in plastic wrap and then foil to prevent freezer burn.