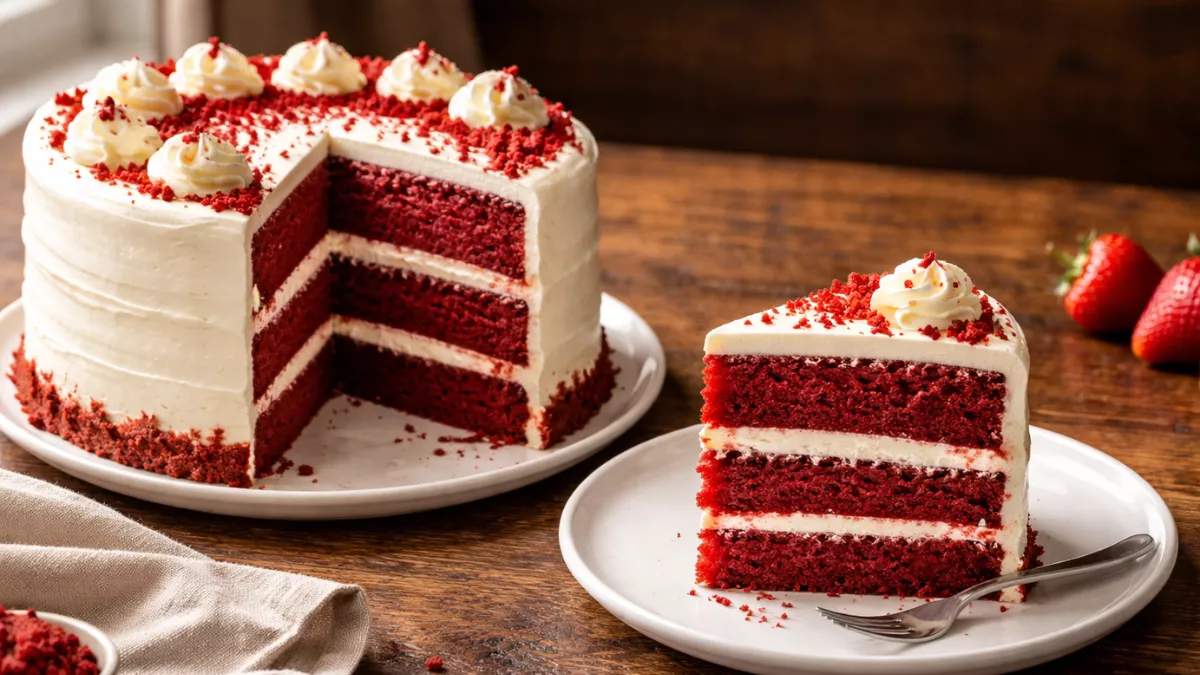
There is a specific kind of disappointment that comes from slicing into a beautiful red velvet cake only to find it dry, dense, or crumbly. You see the deep crimson layers, you anticipate that signature hint of cocoa, and yet the texture lets you down. It is a common frustration, especially when you are baking for a birthday, a holiday gathering, or simply to enjoy a quiet slice at home.
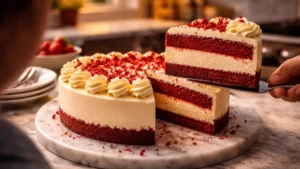
The good news is that achieving a supremely soft, moist red velvet cake is not about luck. It is about understanding a few key techniques that transform a standard recipe into a bakery-quality dessert. In this guide, we will walk through the nine essential steps to creating the perfect 9 red velvet cake—a soft, tender cake paired with a silky cream cheese frosting that holds its shape without being overwhelming.

Whether you are a seasoned baker or trying this classic American Southern dessert for the first time, these practical insights will give you the confidence to bake a cake that tastes as good as it looks.

Why Red Velvet Often Turns Out Dry
The primary problem many home bakers face with red velvet is a dry, crumbly texture. You follow the recipe, but the finished cake feels more like a sponge than a velvet.
This usually happens because red velvet is a delicate balance between a buttermilk cake and a cocoa cake. Buttermilk adds acidity and tenderness, but if you over-mix the batter or bake it for too long, the gluten tightens up, squeezing out the moisture. The result is a cake that feels heavy instead of airy.
Understanding this balance is the first step. You are aiming for a crumb that is sturdy enough to hold frosting but soft enough to melt in your mouth. By controlling your mixing technique and your oven temperature, you can avoid that disappointing dryness entirely.
The Role of Buttermilk in Achieving Tenderness
If you want a truly soft cake, buttermilk is non-negotiable. It is the ingredient that gives red velvet its signature tang and its velvety crumb.
Buttermilk is acidic, which helps break down the gluten strands in the flour. This prevents the cake from becoming tough. It also reacts with the baking soda to create carbon dioxide bubbles, which give the cake lift. However, using buttermilk straight from the refrigerator can sometimes shock the fat in your butter, leading to a denser batter.
Let your buttermilk come to room temperature before mixing. If you do not have buttermilk on hand, you can make a substitute by adding one tablespoon of white vinegar or lemon juice to a cup of whole milk. Let it sit for five minutes. This ensures you get that same tenderizing effect without running to the store.
The Importance of Room Temperature Ingredients
One of the most overlooked reasons for a dense cake is cold ingredients. When you cream butter and sugar together, you are mechanically forcing air into the fat to create structure.
If your butter, eggs, and buttermilk are cold, the butter will not emulsify properly. Instead of a smooth, fluffy base, you will end up with a curdled-looking batter. That curdling means the air pockets are not forming correctly, leading to a flat, dense cake that lacks the softness you are looking for.
Set your ingredients out on the counter about two hours before you plan to bake. For eggs, you can speed up the process by placing them in a bowl of warm water for ten minutes. This small step makes a massive difference in the final height and softness of your 9 red velvet cake.
How to Balance Cocoa Without Drying the Cake
Red velvet is not a chocolate cake. It uses cocoa primarily for flavor and to enhance the red color. However, cocoa powder is hydrophilic, meaning it absorbs a lot of liquid.
If you use too much cocoa, or if you use Dutch-processed cocoa without adjusting the acid in the recipe, the batter can become dry before it even hits the oven. The goal is to use just enough to give that subtle chocolate undertone without stealing moisture from the buttermilk.
Stick to natural cocoa powder rather than Dutch-processed for classic red velvet. Natural cocoa has a higher acidity, which works harmoniously with the buttermilk and baking soda. This combination ensures the cake rises well and retains a soft, moist crumb.
Mastering the Creaming Method
The way you mix your batter determines the texture of your cake. The creaming method—beating the butter and sugar together—is the foundation of a soft cake.
You should beat the butter and sugar until the mixture is pale, fluffy, and light in color. This usually takes about three to five minutes with a stand mixer or hand mixer. If you rush this step, you lose the air bubbles that will later expand in the oven, resulting in a flat cake.
Once the eggs and dry ingredients are added, you must switch to mixing on low speed. Over-mixing at this stage develops gluten. Mix just until the flour disappears into the batter. A few small streaks of flour are better than a tough cake.
Avoiding the “Red Velvet Cake Dome”
A common problem when baking layered cakes is the dreaded domed top. While a slight dome is fine, a large, cracked dome often leaves you with a cake that is dry on the edges and requires excessive trimming.
This usually happens when the oven temperature is too high. The outer edges of the cake set too quickly, forcing the center to burst upward as it continues to rise. For a flat, even layer that bakes uniformly, accuracy is key.
Invest in an oven thermometer. Many ovens run hot or cold by 25 degrees. Bake your red velvet cake layers at 325°F (165°C) rather than 350°F. The lower temperature allows the heat to penetrate the center gently, ensuring the cake bakes evenly and stays soft without forming a harsh crust.
The Right Way to Cool Layers for Frosting
Patience is a virtue when it comes to cooling your cake. If you attempt to frost a cake that is even slightly warm, you will end up with a melted, slippery mess. Conversely, if you leave the cake in the pan too long, the steam trapped inside can make the sides gummy.
Let the cakes rest in the pans for about ten minutes after removing them from the oven. This allows the structure to set. Then, turn them out onto a wire rack to cool completely. For the softest texture, wrap the completely cooled layers in plastic wrap and refrigerate them for an hour before frosting.
This chilling step is a professional secret. It firms up the crumb, making the cake much easier to stack and frost without tearing. It also helps the cream cheese frosting adhere better, preventing the layers from sliding.
Achieving the Perfect Cream Cheese Frosting Consistency
Cream cheese frosting is the classic pairing for red velvet, but it can be tricky. It tends to be softer than buttercream because of the high moisture content in the cream cheese.
If your frosting is too soft, it will squish out the sides of the cake. If it is too stiff, it will be difficult to spread smoothly. The solution lies in the ratio of butter to cream cheese and the temperature of your ingredients.
Use full-fat block cream cheese, not the spreadable kind in a tub. Beat the butter and cream cheese together until smooth, but do not over-beat. Adding too much air at this stage can cause the frosting to become runny as it warms up. Sift your powdered sugar to avoid lumps, and if the frosting feels too soft after mixing, chill it for fifteen minutes before you assemble the cake.
Why Oil Creates a More Moist Cake
A debate among bakers is whether to use butter, oil, or a combination of both. For a cake that stays soft for days, oil has a distinct advantage.
Butter solidifies when cool, which can make a cake feel dry or stiff the next day. Oil remains liquid at room temperature, so it keeps the crumb moist and tender even after the cake has been refrigerated. Many of the best bakeries use a combination of butter for flavor and oil for texture.
For your 9 red velvet cake, consider using a recipe that incorporates vegetable oil alongside a small amount of butter. This gives you the rich flavor you expect from a homemade cake while ensuring the texture remains soft and luxurious for several days after baking.
How to Achieve the Classic Red Hue Naturally
The color of red velvet is iconic. However, using too much liquid red food coloring can alter the chemistry of the batter, adding a bitter aftertaste and thinning the consistency.
Instead of relying solely on liquid dye, look for gel food coloring. Gel color is concentrated, so you need less of it to achieve a deep, rich red. This prevents you from adding excess liquid to the batter, which could compromise the structure.
If you prefer a natural alternative, you can use beetroot powder or red beet puree. Keep in mind that natural options often yield a more burgundy or rust color rather than a bright red. Regardless of which method you choose, add the color to the wet ingredients to ensure it distributes evenly throughout the batter.
Testing for Doneness Without Over-Baking
Over-baking is the fastest way to ruin a soft cake. Even one extra minute in the oven can pull moisture out of the crumb, leaving you with dry edges and a tough crust.
Do not rely solely on the timer. Ovens vary, and dark-colored pans bake faster than light-colored ones. Instead, watch for visual cues. The edges of the cake should just begin to pull away from the sides of the pan. The center should look set but still slightly soft to the touch.
The toothpick test is helpful, but with red velvet, you want the toothpick to come out with a few moist crumbs attached, not completely wet batter and not perfectly clean. If the toothpick comes out dry, the cake is already over-baked.
Also Read
If you enjoyed this guide, you might find these other articles helpful for your next baking project:
- How to Prevent a Dense Cake: Common Mixing Mistakes
- The Secret to Stable Cream Cheese Frosting in Summer
- Why Your Cake Sticks to the Pan: Solutions That Work
- Classic Southern Desserts Every Baker Should Master
Conclusion
Baking the perfect red velvet cake is a combination of science and patience. By focusing on room temperature ingredients, mastering the creaming method, and paying close attention to baking times, you move beyond the frustration of dry, dense layers. You gain the ability to create a cake that is genuinely soft, flavorful, and worthy of any celebration.
Remember that the small details—like chilling your layers before frosting and balancing your cocoa with buttermilk—are what elevate a good cake to a great one. Whether you are baking for a birthday in Texas, a holiday in the UK, or a weekend treat in Australia, these fundamentals will serve you well. Take your time, trust the process, and enjoy the reward of a beautifully soft red velvet cake with a smooth, tangy cream cheese frosting.
FAQs
Can I make a 9 red velvet cake ahead of time?
Yes, this cake actually improves in flavor if made ahead. Bake the layers, wrap them tightly in plastic wrap, and store them at room temperature for one day or freeze them for up to three months. Frost the cake the day you plan to serve it for the freshest texture.
Why does my red velvet cake taste like metal or chemicals?
This is usually caused by using too much red liquid food coloring. To avoid this, switch to a high-quality gel food coloring. You need much less of it to achieve the desired color, which eliminates the chemical aftertaste.
Is it better to use butter or oil for a softer crumb?
For maximum softness that lasts for days, oil is the better choice. Many professional recipes use a combination of butter for flavor and oil for moisture. If you use only butter, ensure you do not over-mix the batter to prevent toughness.
What is the best substitute for buttermilk in red velvet cake?
The best substitute is whole milk mixed with one tablespoon of lemon juice or white vinegar. Let it sit for five to ten minutes until it thickens slightly. This mimics the acidity needed to activate the baking soda and tenderize the gluten.